With the release of Laravel 11, the team at Laravel dropped the beta for a new package, Laravel Reverb. Laravel Reverb is a WebSocket server that integrates with the suite of event broadcasting tools already provided in the Laravel ecosystem. In this tutorial we will create a simple chat application to demonstrate how you can use Laravel Reverb in your Laravel app.
Getting Started
Click the download materials button to get the starter code for this application. You will find a Laravel app almost ready to go. Make sure you have PHP 8.2, Composer, and Node installed on your system. I recommend using Laravel Herd but for this tutorial we will use the built-in server. Let’s start in the starter folder of the download and run the following commands.
npm install - Install Node packages
composer install - Installs PHP packages
npm run build - Builds the frontend
cp .env.example .env - Create an env for your system
php artisan key:generate - Generate an application key
php artisan migrate --seed - Migrate and seed a new database
To start our application we need to serve the app. You can use Laravel Herd or the built in server by running the following.
php artisan serve
We are now ready to start building our application. Let’s talk about the starter setup. There are three models that I use in this application: MessageGroup, Message, and User. These three models make up the data structure of our site. You can login with one of the three users created in the seeding process. test@example.com, test2@example.com, and test3@example.com all have a password of password for our example.
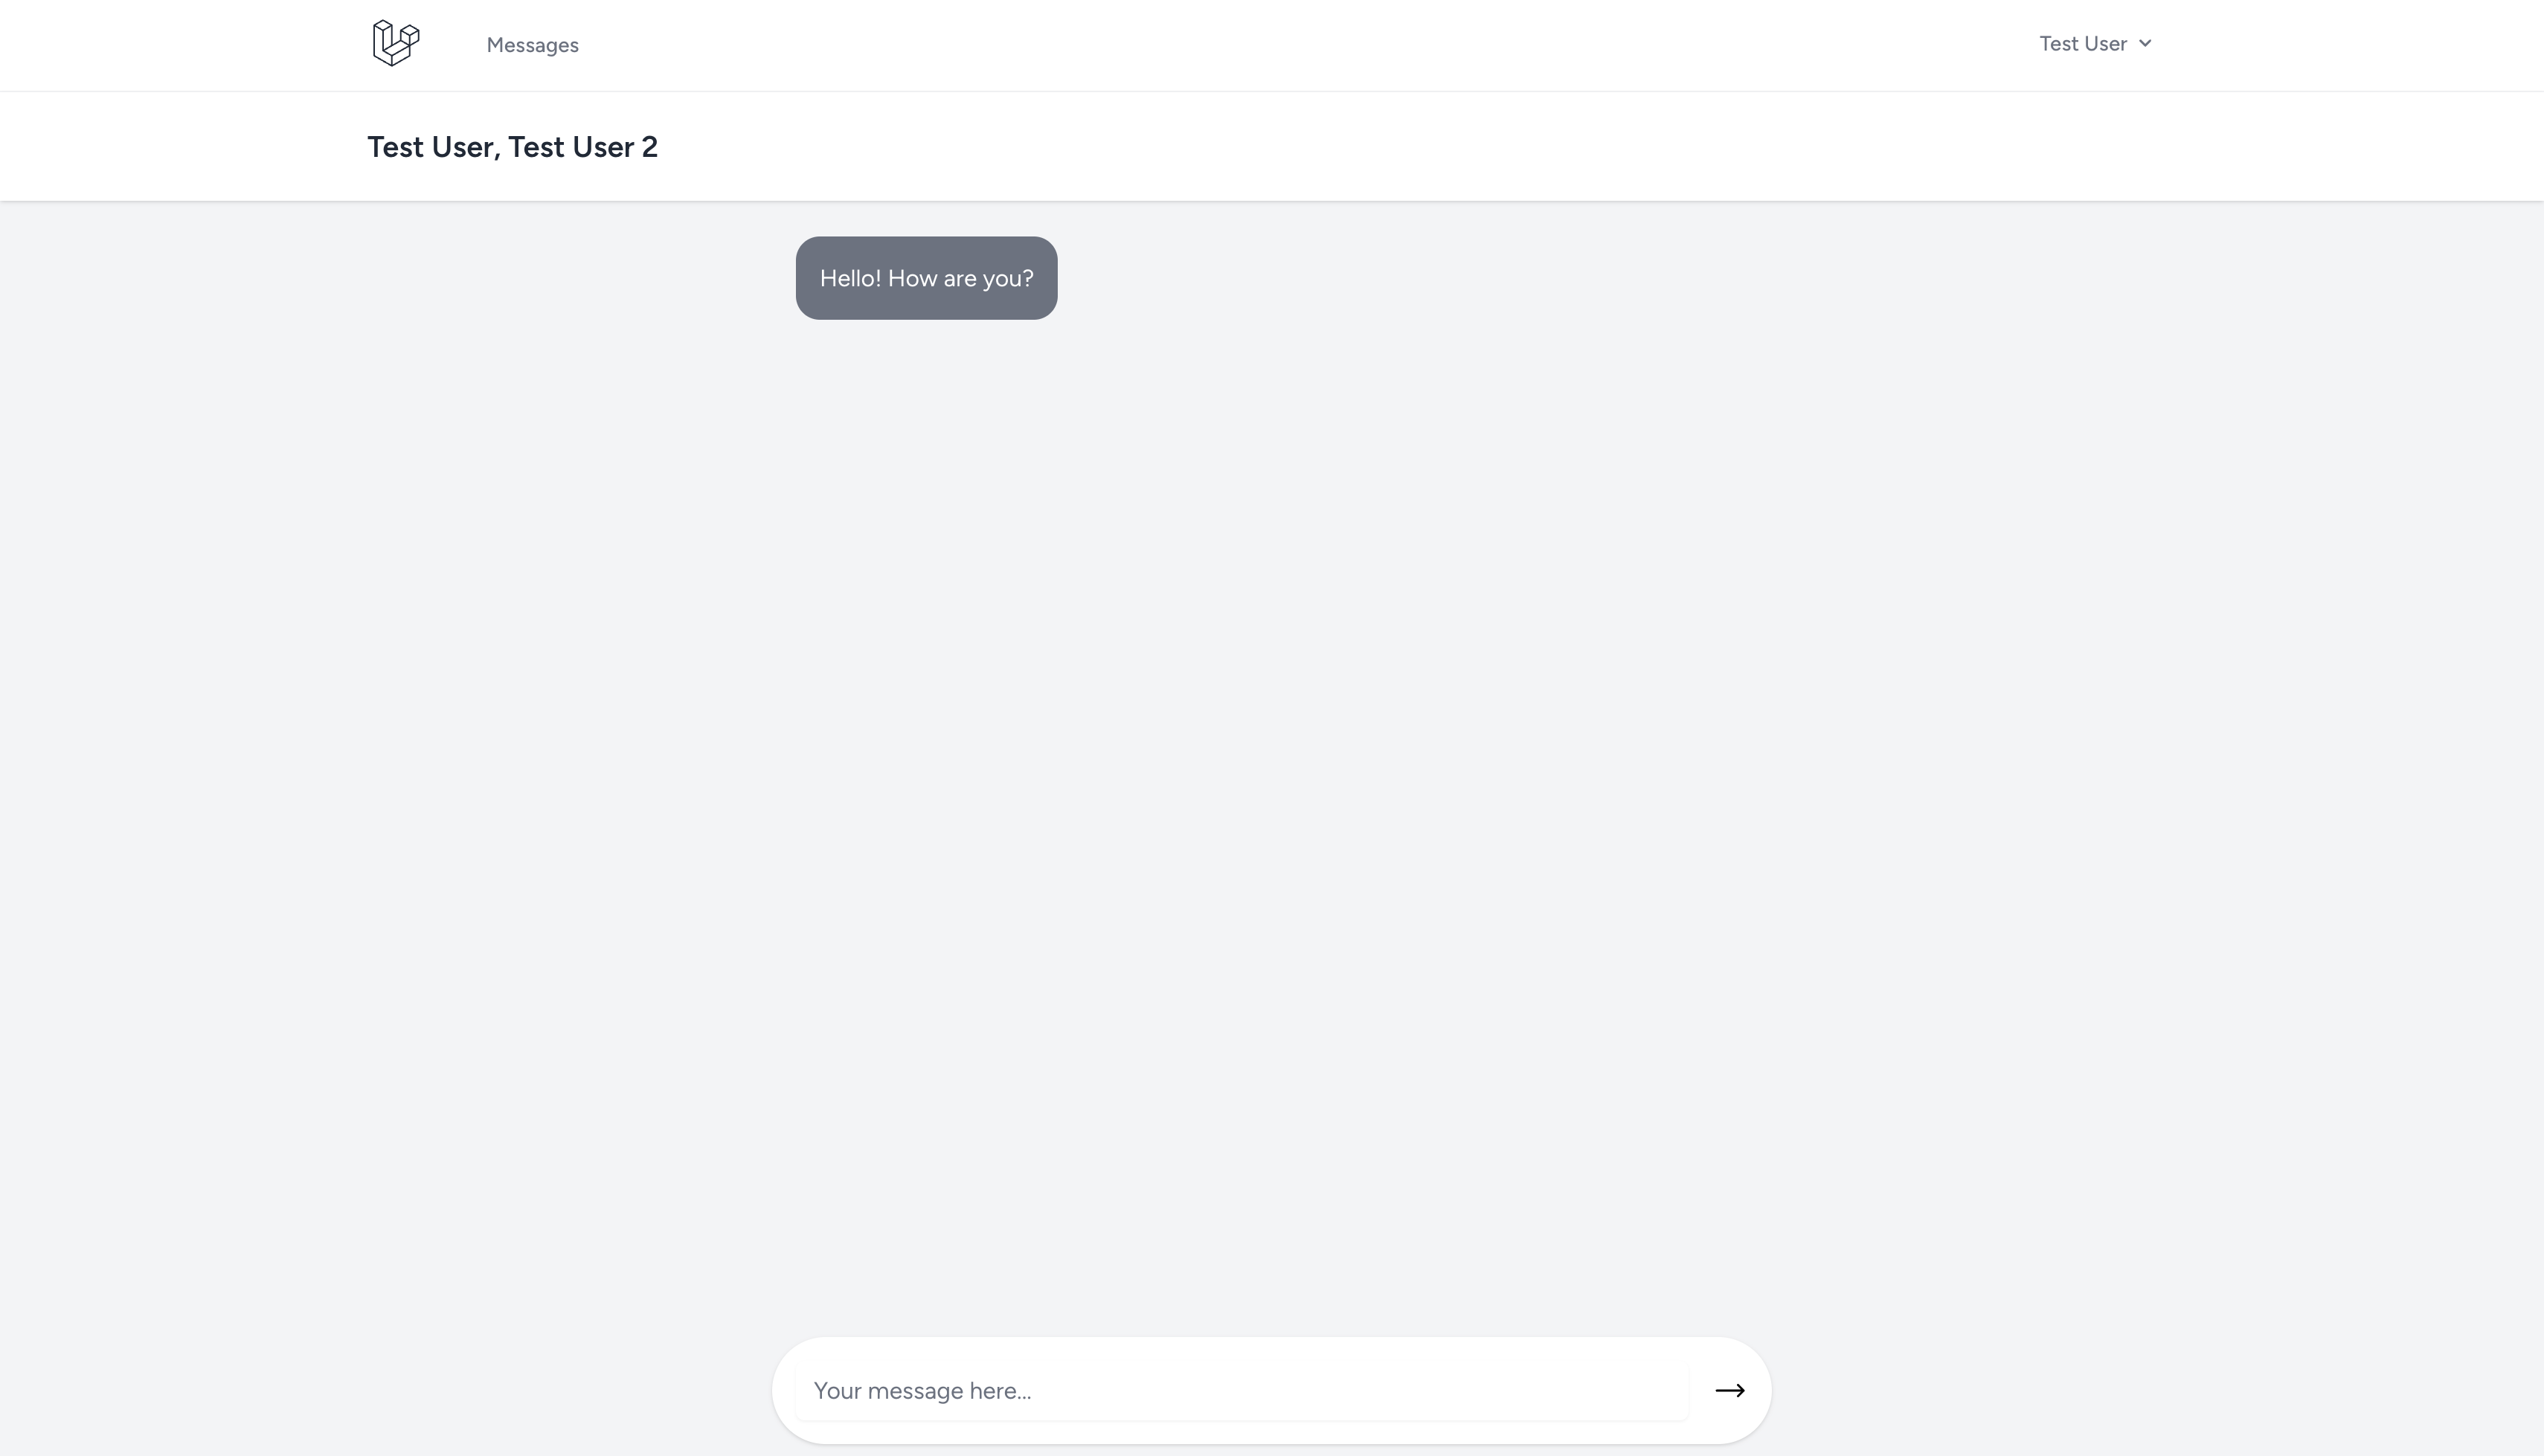
You can start a conversation with the following steps
- Clicking the start a chat button
- Searching for a user by their name (All users start with Test . Start by with that and click a user to add to the chat)
- Enter your message and click the send arrow.
You should see something like this.

Understanding WebSockets
Before we get too deep in building out our application we should understand what we are about to do. Laravel Reverb is a WebSocket server that we can start via an artisan command. This WebSocket server implements the Pusher protocol so It can communicate well with the front-end package Laravel Echo. But what actually is happening?
In a standard HTTP request the process starts with a request to your server. That server then processes that request and gives you a response back. It all happens in a matter of milliseconds that the connection is terminated. This happens for every single HTTP request that is made. Since the connection is terminated each time we can only send data once requested. That can be a problem for real-time communication.
In some cases a pattern called long-polling can be used where the browser periodically checks for new data. This is delayed communication. We want real-time communication. That is where WebSockets come in.
WebSockets is a full duplex TCP connection that allows for both parties to send data back and forth. Think of the HTTP request as the postal service and WebSockets as email. The postal service takes significantly longer to get a letter to someone than sending it through email.
That connection is maintained and keep alive until you leave the page or explicitly say to close the connection. Using Laravel Reverb, Echo and Broadcasting we can easily set up our chat application to use this real-time connection over refreshing the page for new data. Let’s setup broadcasting in our Laravel application.
Install Broadcasting
When adding real-time communication to your Laravel app we need to start by installing broadcasting. You can do this by running the following command.
php artisan install:broadcasting
This command will ask you if you want to use Laravel Reverb and to install both Composer and Node packages. Select yes to all. This will bring in Reverb, Echo, the needed config files, and a channels file in the routes directory. We will look at that later. Let’s setup our Reverb instance.
Server-Side Setup
To setup Reverb we first run the following commands.
php artisan reverb:install
This command will prompt you to use that Reverb broadcast driver. Select yes. This will set the needed environment variables for Reverb to run and the broadcast driver to Reverb. We should build our frontend again to pull in the new changes to our js files. Run the following.
npm run build
At this point you can open a separate terminal and run the following.
php artisan reverb:start
This will start a long running process of our WebSocket so we communicate back and forth.
That is it! You now have Reverb installed in your app. There is more for when you deploy to production but that is all that is required on the server-side for our application.
Client-Side Setup
Before we jump into writing code to finish our application, if you look in the js directory in the resources directory you will find an echo.js that is imported in the bootstrap.js file. This setups our frontend to be able to interact with the broadcast system.
In our application we will use Livewire to listen and handle events from our WebSocket events but you could also list in your Javascript files using Echo directly. Let’s talk about how that would work so we can understand what we are building.
Getting Started with Broadcast Channels
In our laravel application we will create an event called SendMessage . To create that run the following command.
php artisan make:event SendMessage
This will create a PHP file in the events directory under the app directory. This is our event. It has a constructor and a broadcastOn methods. In the broadcastOn method you will find an array being returned with a new PrivateChannel object. This method is where we can tell Laravel where to send data when our event is dispatched. We will create a listen to messages from the channel that specify.
There are three kind of channels, Public, Private, or Presence. Public channels don’t require authentication where Private channels do. Presence channels are a more advanced Private channel and I will cover those in a future article.
Let’s change the Private channel on our event to be more like this.
new PrivateChannel('message-group.'.$this->message->messageGroup->id)We are saying we want this to broadcast on a channel that uses the message group id in the name. To get that id we need the the message and then we can pull the message group id off of that.
In your constructor create a public property called $message like this.
public function __construct( public Message $message)
Here we are passing a message model into the event that we can use to build the channel that we want to broadcast to. The final item is to tell the event how it should broadcast. It can broadcast via a queue or it can be now. We want now. Let’s implement the ShouldBroadcastNow contract.
class SendMessage implements ShouldBroadcastNow
That is all that is needed to create the event that we will dispatch in one of our Livewire pages. This is the final SendMessage event file.
<?php

namespace App\\Events;

use App\\Models\\Message;
use Illuminate\\Broadcasting\\Channel;
use Illuminate\\Broadcasting\\InteractsWithSockets;
use Illuminate\\Broadcasting\\PresenceChannel;
use Illuminate\\Broadcasting\\PrivateChannel;
use Illuminate\\Contracts\\Broadcasting\\ShouldBroadcastNow;
use Illuminate\\Foundation\\Events\\Dispatchable;
use Illuminate\\Queue\\SerializesModels;

class SendMessage implements ShouldBroadcastNow
{
    use Dispatchable, InteractsWithSockets, SerializesModels;

    /**
     * Create a new event instance.
     */
    public function __construct( public Message $message)
    {
        //
    }

    /**
     * Get the channels the event should broadcast on.
     *
     * @return array<int, \\Illuminate\\Broadcasting\\Channel>
     */
    public function broadcastOn(): array
    {
        return [
            new PrivateChannel('message-group.'.$this->message->messageGroup->id),
        ];
    }
}
Authorizing Private Broadcast Channels
Because we are using a Private broadcast channel we need to authorize that channel. This happens in the routes/channels.php file. Add the following to that file.
use App\\Models\\User;

// 1
Broadcast::channel('message-group.{messageGroupId}', function (User $user, int $messageGroupId) {
    // 2
    return $user->messageGroups->contains('id', $messageGroupId);
});
- We define the broadcast channel we want to authorized. Just like routes can have parameters, so can channels. We are stating for the channel message-group.{messageGroupId} we want to verify the user has access.
- We determine if any of the authorized user has message groups has an id of the channel we are authorizing.
If we don’t do this or the authorization fails the browser will receive a 403 status code saying the user is not authorized. We are now to dispatch our event.
Dispatching Broadcast Event
With how the demo application was built we have create and manage Livewire components. We only need to fire our event in the mange component. In app/Livewire/MessageGroupPage.php you will find a method called send. This method creates a message and adds it to our message group. Think of a message group as a chat and we are adding messages to a chat.
After we clear the public message property add the following line.
broadcast(new SendMessage($newMessage))->toOthers();
This will dispatch our SendMessage event with our newly created message. We wrap that in the broadcast helper function and a call toOthers() so it only goes to other users in the message group and not us. This is looking good! To finish our app out we now need to listen for those events.
Listening for Broadcasted Events
Now that we are sending our events to a broadcast channel through our Reverb server we need to listen for those events to do something in the browser. This is where Laravel echo comes into play.
If we weren’t in a Livewire app we would write our listeners in our Javascript attached to the page. That might look like this.
Echo.private(`message-group.${this.messageGroupId}`)
	.listen('SendMessage', (e)=>{
		...
	})
In the callback we could then perform actions on our frontend to respond to the event it received. We won’t do that because Livewire handles this for us! Let’s look at that.
In our Livewire component we can listen for events. There are multiple ways we can set that up, but my favorite is to use PHP attributes. Start by adding the use statement the following at the top of app/Livewire/MessageGroupPage.php.
use Livewire\\Attributes\\On;
This gives us access to the Livewire event system that ties into Echo. Let’s add our event listener now at the bottom of the MessageGroupPage class.
// 1
#[On('echo-private:message-group.{messageGroup.id},SendMessage')]
public function messageReceived()
{
	// 2
    $this->messageGroup->refresh();
}
- Adding the attribute to the messageRecieved method means that it will fire on the provided event. Our event is listened to by to provided string on the on attribute. Let’s break it down
- echo-private: Here we ares stating this event is actually a private echo channel event
- message-group.{messageGroup.id} We provide our channel name. We are using the messageGroup property to get the id. You can learn more about this here.
- SendMessage We are specifying which event we ant to listen for.
- When we receive this event on our channel we are going to refresh our message group model. This will in turn get the new messages without us having to refresh the page. Let’s give it a try.
Using the Chat Application
We are now ready to use are chat application. You will want to login to two users. You can use incognito mode or two different browsers to do this. Also, make sure your Reverb server is still running. You should be able to create messages in one and the changes in the other! You now have a functioning chat application.
Where to Go From Here?
You have the knowledge now on how to add Laravel Reverb to your application. Be sure to checkout the Laravel Reverb and Broadcasting documentation to learn more. Click here to learn how to add a someone is typing messages to the chat.